
7 September 2026 · AW Prod
Maker Lab
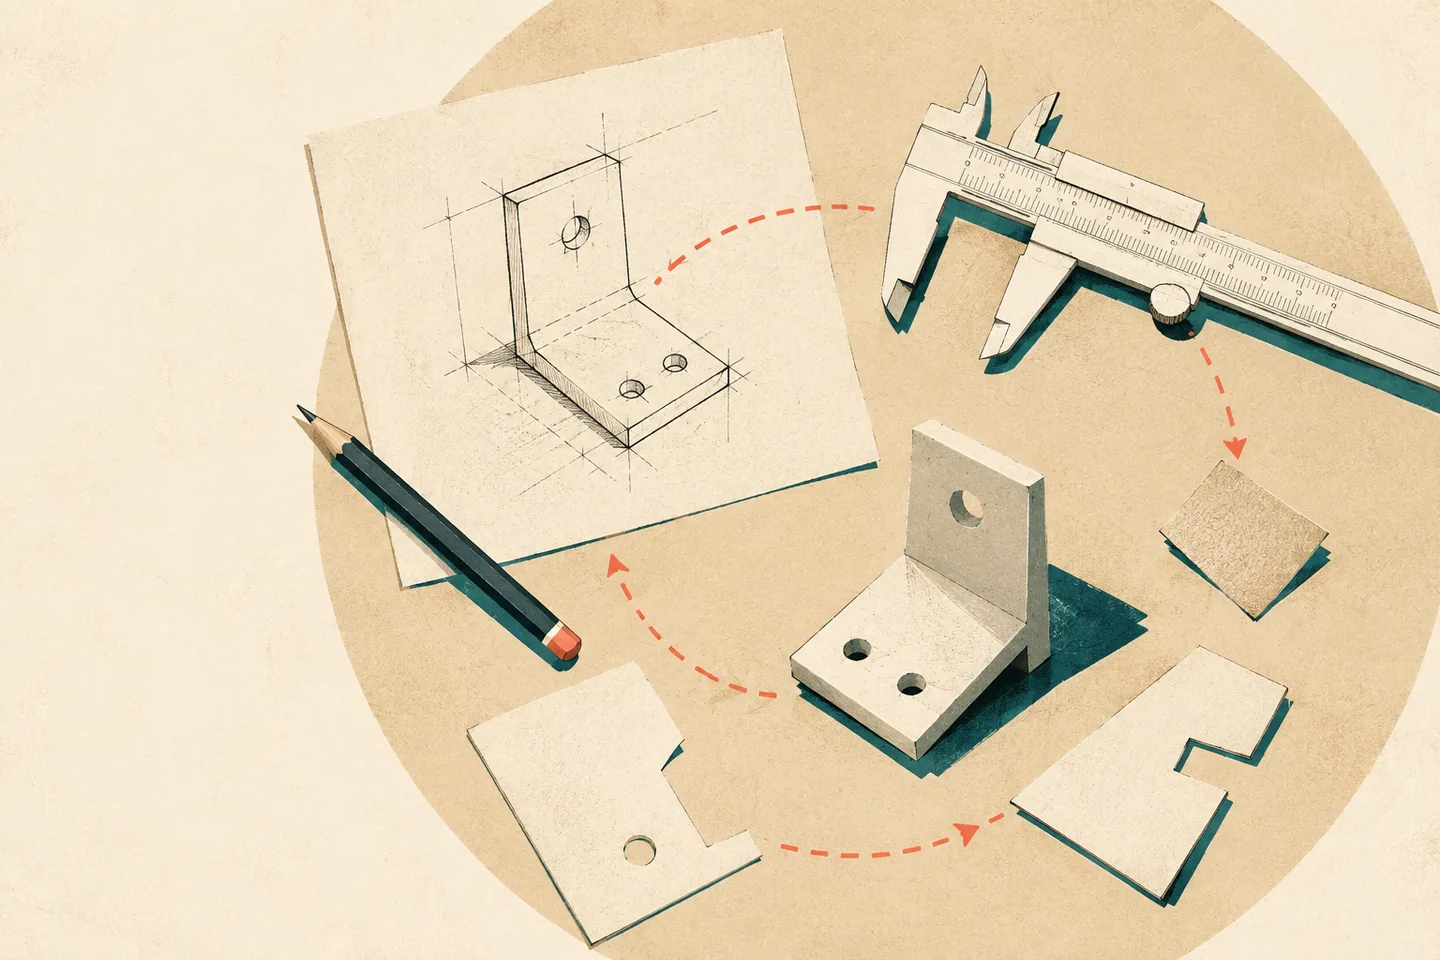
A maker lab is a shared workspace for making, repairing and testing physical objects. It might contain hand tools and sewing machines, digital fabrication equipment, electronics benches or a mixture of these. Its usefulness depends on whether the tools, instruction and working space suit your project.
Choosing a lab starts with a practical question: what do you need to make, and what help will you need? A garment repair, a wooden model and an electronic enclosure require different processes. Check the whole workflow before committing time or buying materials.
What a maker lab provides
Maker labs can sit within libraries, schools, universities or independent community workshops. Some concentrate on textiles or woodworking; others combine several disciplines. The Library makerspace overview describes settings where people work independently, together or with staff while learning through experimentation.
Shared access can make unfamiliar tools and practical knowledge available without assembling a workshop at home. Access alone is not enough, though. Look for clear instructions, maintained equipment, space to assemble parts and a reliable way to ask for help.
A focused lab may suit you better than one with a long equipment list. For fabric work, cutting space and an appropriate sewing machine matter more than a printer. For a wooden model, accurate measuring tools, clamps and a stable bench may be the essentials.
Define a small first project
Write a short description of the object, its material and its intended use. Include approximate dimensions and any part it must fit. Distinguish appearance from function: a display model can answer questions about shape without proving that a finished object will withstand use.
Identify the smallest test that would answer your main question. A cardboard mock-up can show whether an enclosure has enough room. A fabric sample can test a seam. A single joint can reveal an assembly problem before you cut every component.
Choose the process after defining that test. A digital machine may help with repeatable shapes, but preparing its files can take longer than making a rough model by hand. Ask a supervisor which method fits your material, skill level and purpose.
Check the complete workflow
Equipment for makerspaces and robotics laboratories spans several processes, each with different hazards and operating requirements. Treat every machine as one part of a sequence: preparation, setup, operation, removal, finishing and inspection.
For a printed part, find out how to prepare the file, confirm units and check dimensions before starting. Ask who selects the material and settings, how a failed job is handled and what finishing work is permitted. For sheet materials, establish the cutting area and acceptable material types before preparing a layout.
Check the less conspicuous facilities too. You may need measuring instruments, clamps, an assembly surface or somewhere to leave work while it dries. Find out whether unfinished pieces can remain between sessions and how they must be labelled. Do not assume that machine access includes storage or staff assistance.
Consider how the object will leave the lab. Check whether it needs packaging, further assembly or time before handling. A prototype that fits the machine may still be awkward to carry through a doorway or transport home. Plan this before making a large piece.
Accessibility also affects the workflow. If you need a seated work position, clearer written instructions or help moving materials, discuss those needs before the visit. Ask to see the relevant bench and controls rather than relying on a general description of the space.
Learn the safety arrangements
Read the lab’s procedures and complete its induction before working. General orientation does not necessarily authorise you to use individual machines. The shop and makerspace safety guidance covers training and controlled access; ask the lab how it records permission for each tool you intend to use.
Before starting, have a supervisor explain the relevant hazards, required protective equipment and stopping procedure. Know how to report a fault or incident and where to seek help. If the setup differs from the one you were taught, pause and check rather than transferring instructions from another machine.
Materials need approval as well as tools. An unfamiliar sheet, coating or adhesive may be unsuitable for the intended process. Keep labels and material information available. Follow the facility’s instructions for extraction, waste collection and cleaning; do not guess how to dispose of residues.
Leave guards and interlocks in place, keep circulation routes clear and report damaged equipment. Return tools to their designated positions and leave the bench ready for the next user. These habits make a shared workspace easier to inspect and use.
Match support to your experience
Ask how beginners receive help. A lab might offer supervised sessions, written instructions, classes or technician support, but these are different forms of assistance. Establish whether someone can review your setup during the session, especially when you are trying an unfamiliar process.
Explain what you already know and where you need guidance. Bringing a sketch and a specific question makes the conversation useful: “How can I hold these pieces while joining them?” gives a supervisor more to work with than a general request to finish your project.
A shared makerspace guideline can help you identify questions about training, equipment operation and work practices. The facility’s own rules govern your visit. Check expectations for noise, cleaning, shared supplies and handling other people’s work.
Prepare for the first visit
Bring a dimensioned sketch or simple file in the format the lab requests. Include a materials list and identify anything you plan to bring from elsewhere. Keep the first task small enough to inspect during the session, with room to correct a mistake.
- Confirm which tools suit the task and which require separate training.
- Ask what materials are permitted and what supplies you must bring.
- Check how machine access and supervised help are arranged.
- Find out how files, unfinished work and completed pieces are handled.
- Agree on an alternative task if the intended equipment is unavailable.
Allow time for setup and cleaning as well as making. Avoid scheduling a complicated assembly immediately after your first attempt with a new tool. A useful first visit may produce a tested sample and clear notes rather than a finished object.
Test and document each version
Decide what you will inspect before making the sample. For an enclosure, that could be clearance around a component or access to a fastening. For a sewn piece, it might be seam alignment. Use a drawing or written requirement so that inspection has a clear reference.
Change one relevant feature at a time where practical. If a part does not fit, measure it and compare it with the intended dimensions before changing the file. Record the material, settings and orientation so you can distinguish a design change from a process change.
Save design files with meaningful version names and retain the version used for each test. Note what worked, what failed and what you will try next. Photograph an assembly when the image explains something that a short note cannot, such as the order in which parts fit together.
For collaborative work, agree who owns each task and which file is the working version. Label prototypes and separate usable material from waste. At the end of each session, leave a brief record of the next action so another person can continue without reconstructing your decisions.